Labels

Pages

Showing posts with label tutorials. Show all posts

Saturday, July 23, 2011

T-shirt Bracelets

I have been doing too much blog surfing and too little working over the past week!  Finally, last night I had the ambition to make something...these adorable t-shirt bracelets inspired by Haute to Sew!
First, grab some old t-shirts in the colors you want to make. 

Cut 1 to 1 1/2 inch wide strips from the shirt.  I cut across the width of  my shirts.  Then STRETCH the strips until they look like this:

I debated whether to braid three strands or double them up for a wider bracelet.  I couldn't decide, so I made both kinds!  Next, glue or sew the ends of the strands together.  I sewed my first bracelet, but soon resorted to my trusty glue gun to do the rest!  I clipped the end of the bracelet to my clip board and braided about 7 inches...just measure your wrist and braid the desired length.
After the bracelet is the length you want, stitch or glue the end, attach both ends and take a small piece of fabric to cover the rough edges.
Here are the ones that I did...so far!  They are really fun and easy to make!  The single strand ones:

And the thicker, double strand ones:

Friday, July 8, 2011

After returning from church camp, I found out that all the USB ports on my laptop are fried...so I can't upload pics until I get my new computer on Monday!  So, here are some awesome projects I have come across that I really want to try...if only I had the time!

Herb Garden Markers from Wit and Whistle.  I think these would make a great gift with some seeds and terracotta pots.
DIY garden markers

Ribbon Scraps Lighted Garland from Whitney Caroline Designs.  Adorable for Christmas, but I think it would be cute in my craft room too!


Bracelets from Soda Pop Design.  None of the instructions are in English, but the pictures are great!


Lamp Shade Redo from Show and Tell.  The unfinished edges are my favorite!
rosette lamp

Antiqued Silver Chair from Frou-FruGal.  This chair looks AMAZING!  I am so jealous!  Ok, now what can I paint?:)


Flower Curtain Tie Backs from A Very Dandoislion Life.  I have been thinking about curtain tie backs and these are so lovely.


Also, check out my giveaway on my friend Sarah's awesome blog This Crazy Blessed Life.

Now it's time to get off the computer and get to work!

Tuesday, June 21, 2011

Hand Cut Silhouettes

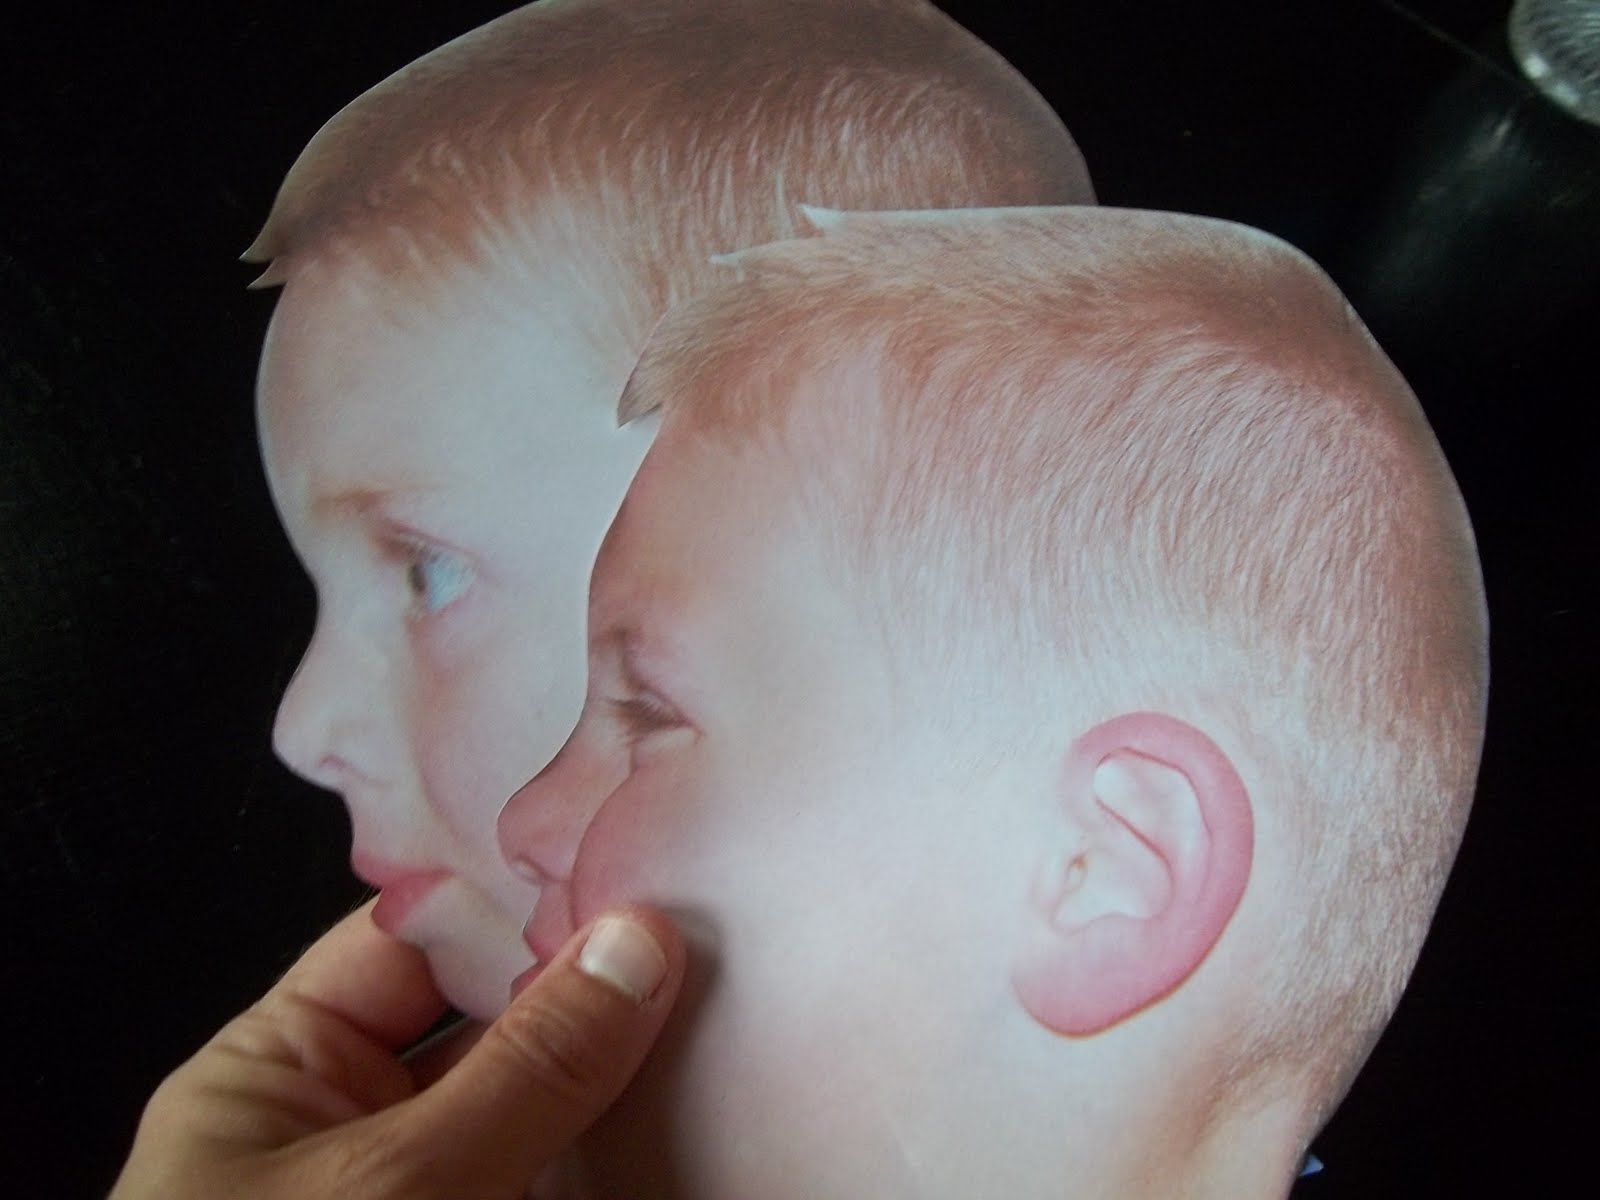
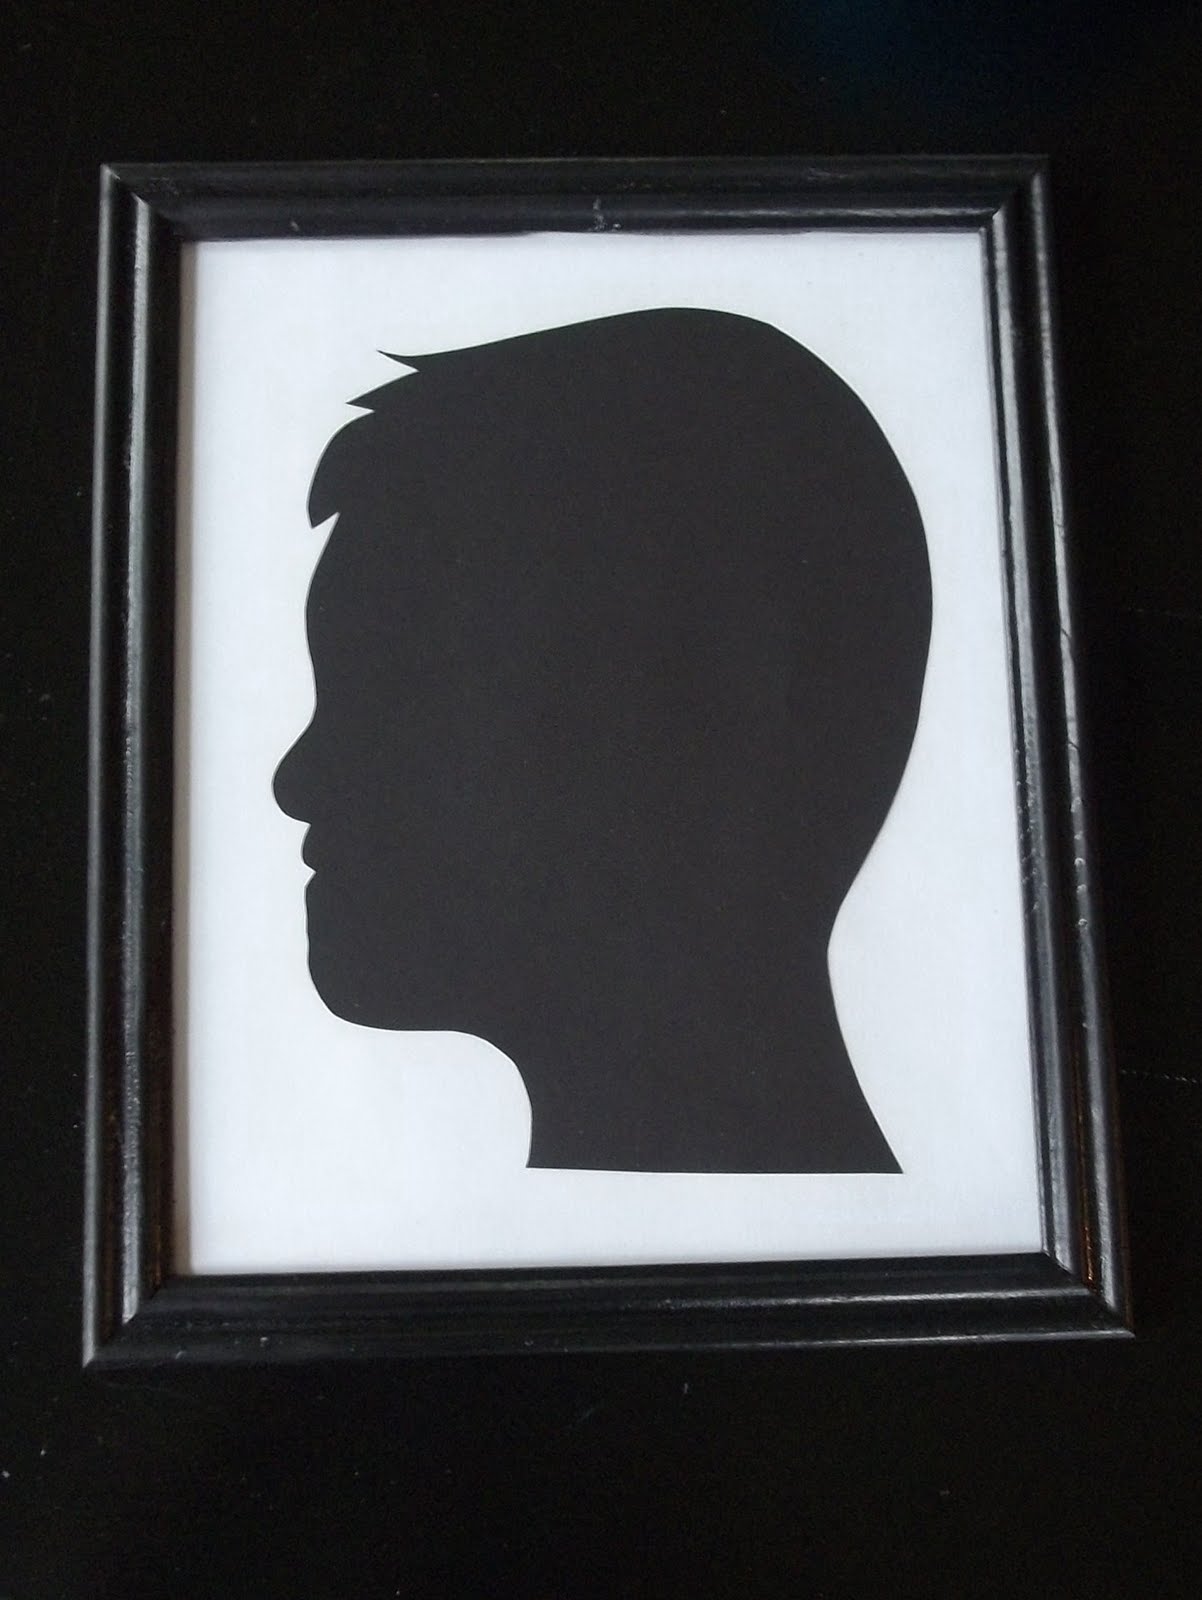
Framed silhouettes make for fun, yet elegant decor.  I don't have a fancy die cut machine for my computer, so I thought that I couldn't make silhouettes of my kids.  Then I had an idea!  First I took profile pictures of my boys.  Then I blew their images up as large as I could to fit on an 8x10 page.  After I printed their pictures I cut around their side profiles very carefully.  (Of course, they both have goofy expressions!)

Then I traced the profiles on black card stock and cut those out.  Voila...silhouettes!  I matted them on white 8x10 card stock and framed them in inexpensive black frames.  Peyton looks very serious, but Daulton has such a devilish grin!

I love them on a small corner of my kitchen wall.

Linking to:
Tip Junkie handmade projects

Monday, June 20, 2011

New Old Lampshade

I snagged this lampshade from my mom's basement, but it was in need of some updating.  The shade itself was in good shape, but it had yellowed over the years and it was just really boring. 
I found some ivory cotton fabric, cut from it about 100 three inch circles and glued them around the shade, overlapping the circles to cover the entire piece.
I finished the edges by folding half circles under the shade and gluing them down.  The shade is much more interesting now...don't you think?

Monday, June 13, 2011

Summer Theme Wall Art

My family room is my latest big project and is taking way too long.  I kept changing my mind about furniture arrangements and accent colors, but Saturday I finally decided to go with turquoise and yellow, black and silver, like much of my house.  I have been working on some decorative accents and saw an awesome wall art idea with sea shells and silver spray paint.   For the life of me I can't remember where I saw the idea, so if it's yours please let me know so I can give credit where credit is due:).  
First I spray painted some sea shells we collected on our trip to Charleston, SC last year.
Then I cut out and framed blue and white paper to resemble the ocean.

Lastly, I arranged the shells in columns and rows and hot glued them to the glass.

Inexpensive, quick, lovely wall art!

Linked to:
Skip to My Lou
Today's Creative Blog
Under The Table and Dreaming
Tip Junkie handmade projects

Wednesday, September 23, 2009

Salvation Bracelet Tutorial

This is my first year as Awana commander at my church so I had to try Salvation Bracelets with the kids. Boys and girls love crafts and they love beads, so the project was a big hit, but it also delivered a wonderful message: each bead color reminds us of a Biblical truth.

You need only a few supplies to get started: cording (we used waxed cotton cord) and 6 beads, one each in black, red, white, blue, green, and gold (we used pony beads). Each child will need about 6 inches of cord, long enough to make several knots and fit around their wrist.


Make one knot several inches into the cord; this knot will prevent your beads from sliding off. As you string the beads read the following Bible verses:

1. Black= sin, Romans 3:23

2. Red= Christ's blood, Romans 5: 8-9

3. White= repent and be cleansed, Psalm 51: 1-2

4. Blue= baptism, Ephesians 4:5

5. Green= growth in our faith, Colossians 1:10

6. Yellow or Gold= eternal life in Heaven, John 3:16

After the yellow bead, knot again to hold beads in place. Then knot to fit wrist. You can use a longer piece of cord and make the bracelet adjustable. Since we had alot of kids, we just chose to knot and secure them with a dab of superglue instead of making them adjustable.