Pages

Thursday, July 14, 2011

Zebra Lampshade

I have been on a lampshade kick lately.  I needed this one for a lamp in our family room.
I had already covered it once using gold fabric, but it didn't go with the new color scheme.  When I covered it the first time, I put out my fabric and carefully rolled the shade over it, tracing the top and bottom as I went along.  After cutting and trimming, I had the shape of the frame.  I am not going to lie...covering this shape of frame can be a pain in the butt!
I grabbed my hot glue gun and attached the fabric around the frame.  To finish the edges, I glued down some black ribbon.  Then,  I added a few rosettes that I had made previously.  It looks so cute!!

Linking up to:
HookingupwithHoH

Monday, July 11, 2011

Family Room Entryway

Since our family room used to be the garage, we have lost our outdoor entrance to our laundry/mudroom.  I have been struggling with the entryway for 4 years now, and finally, I have a solution I like (my only other wish would be tile or hardwood floor...what was I thinking with carpet?!). 
The boys are always putting their shoes on last minute, as we walk out the door, so a bench made sense.  My grandpa made this bench years ago and I claimed it from my mom.  It was originally a cheap oak, but in my wisdom I painted it.  First white, then bronze, then white again...well off-white.  I attempted to antique it, but it just looked awful.  See?

I just happened to have some black spray paint, so I decided to change the color yet again.  I covered this old couch pillow I had with zebra fabric to add to it.
It looks better already!  Now for the walls.  My boys also have this bad habit of throwing jackets and backpacks on the floor as soon as they enter the house, so I knew I needed a coat hook of some kind.  I had these old barn wood frames that my dad had made that I absolutely love, but didn't know what to do with them.  I placed hooks on one and used some extra zebra fabric to jazz up the other.
Now I love my newly redone entryway.  It makes me smile :).

Notice the wicker basket with balls...again, those boys...

Linking up to :

Tip Junkie handmade projects


Friday, July 8, 2011

After returning from church camp, I found out that all the USB ports on my laptop are fried...so I can't upload pics until I get my new computer on Monday!  So, here are some awesome projects I have come across that I really want to try...if only I had the time!

Herb Garden Markers from Wit and Whistle.  I think these would make a great gift with some seeds and terracotta pots.
DIY garden markers

Ribbon Scraps Lighted Garland from Whitney Caroline Designs.  Adorable for Christmas, but I think it would be cute in my craft room too!


Bracelets from Soda Pop Design.  None of the instructions are in English, but the pictures are great!


Lamp Shade Redo from Show and Tell.  The unfinished edges are my favorite!
rosette lamp

Antiqued Silver Chair from Frou-FruGal.  This chair looks AMAZING!  I am so jealous!  Ok, now what can I paint?:)


Flower Curtain Tie Backs from A Very Dandoislion Life.  I have been thinking about curtain tie backs and these are so lovely.


Also, check out my giveaway on my friend Sarah's awesome blog This Crazy Blessed Life.

Now it's time to get off the computer and get to work!

Tuesday, June 21, 2011

Hand Cut Silhouettes

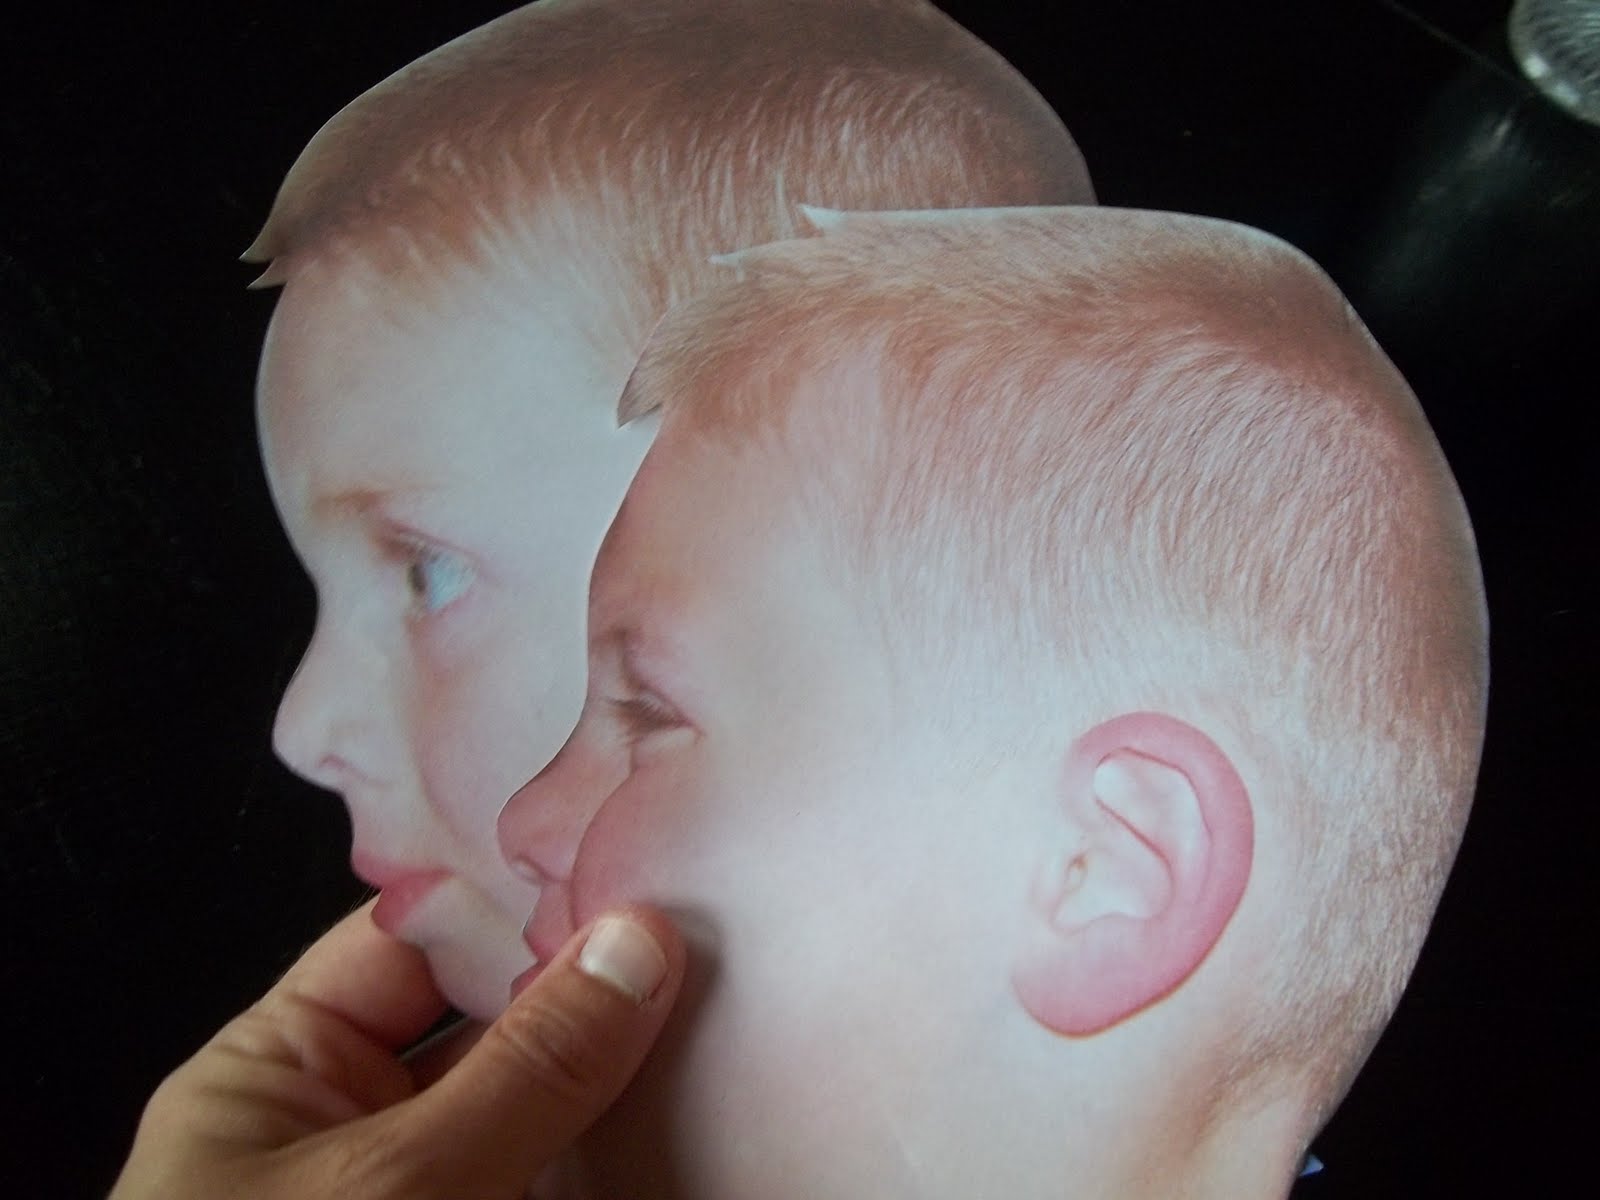
Framed silhouettes make for fun, yet elegant decor.  I don't have a fancy die cut machine for my computer, so I thought that I couldn't make silhouettes of my kids.  Then I had an idea!  First I took profile pictures of my boys.  Then I blew their images up as large as I could to fit on an 8x10 page.  After I printed their pictures I cut around their side profiles very carefully.  (Of course, they both have goofy expressions!)

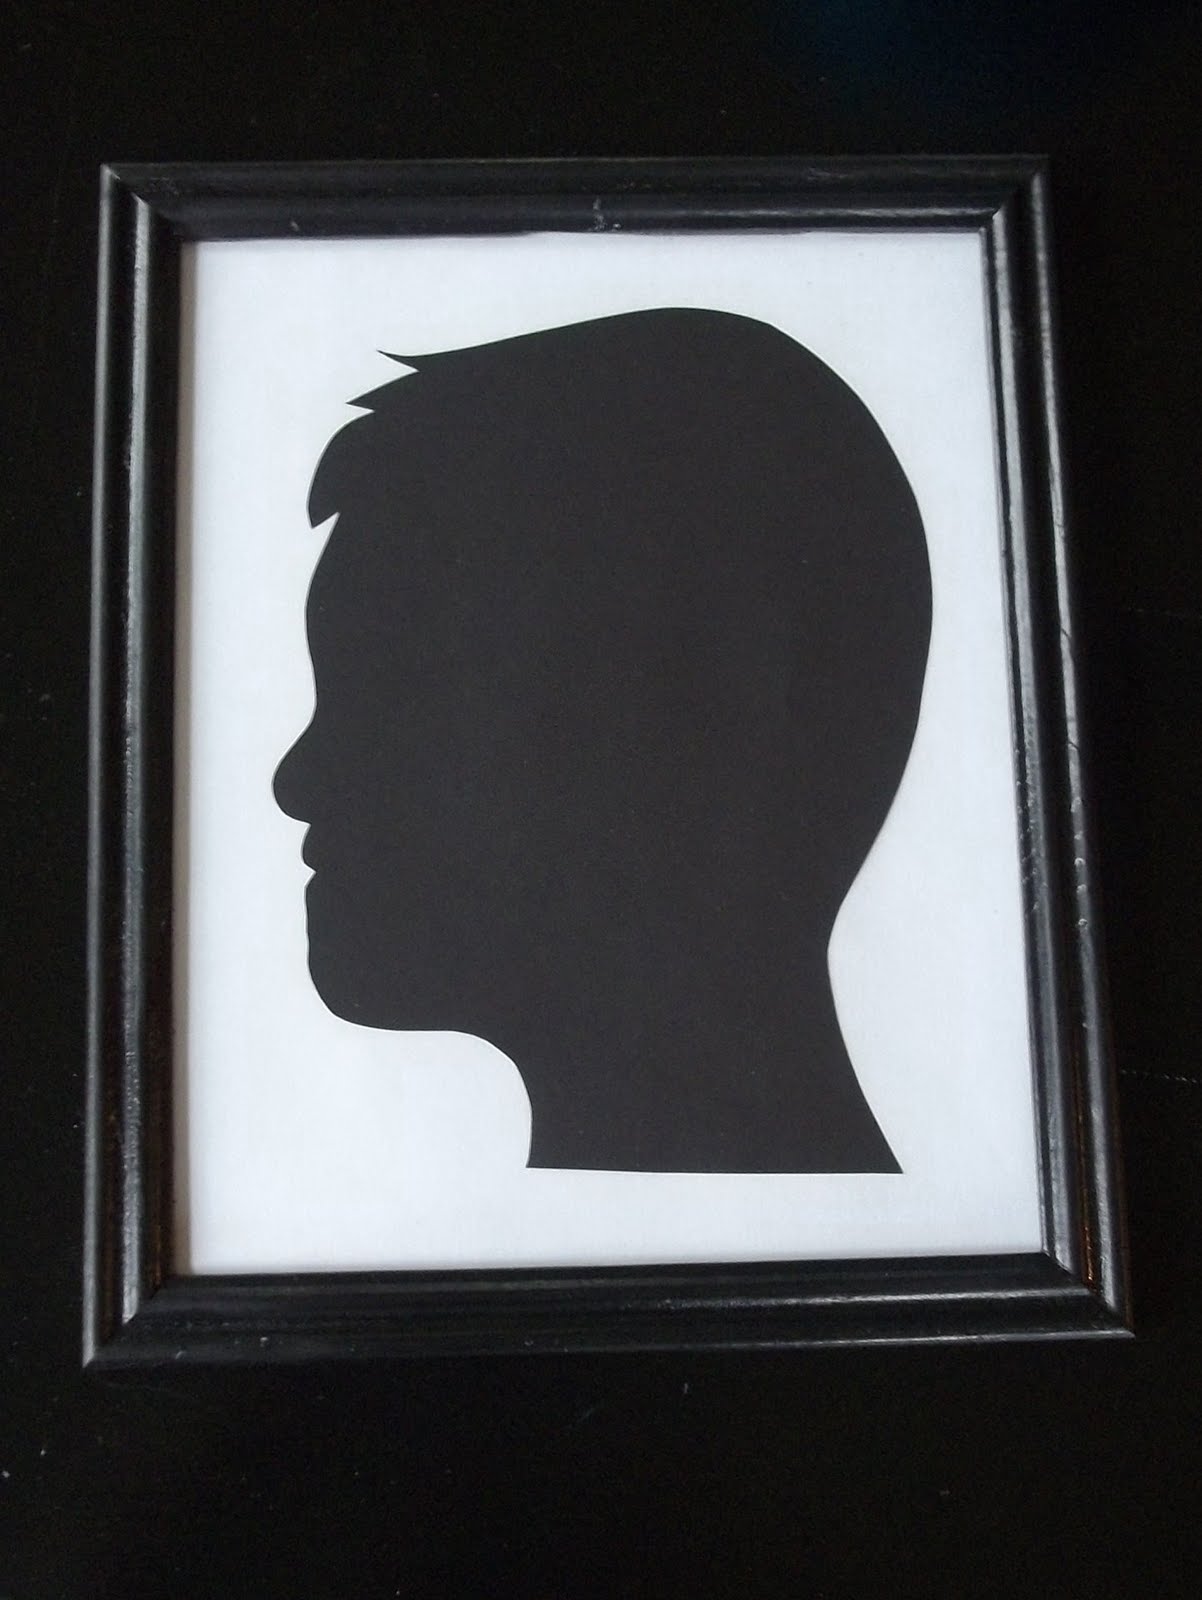
Then I traced the profiles on black card stock and cut those out.  Voila...silhouettes!  I matted them on white 8x10 card stock and framed them in inexpensive black frames.  Peyton looks very serious, but Daulton has such a devilish grin!

I love them on a small corner of my kitchen wall.

Linking to:
Tip Junkie handmade projects

Monday, June 20, 2011

New Old Lampshade

I snagged this lampshade from my mom's basement, but it was in need of some updating.  The shade itself was in good shape, but it had yellowed over the years and it was just really boring. 
I found some ivory cotton fabric, cut from it about 100 three inch circles and glued them around the shade, overlapping the circles to cover the entire piece.
I finished the edges by folding half circles under the shade and gluing them down.  The shade is much more interesting now...don't you think?

Monday, June 13, 2011

Summer Theme Wall Art

My family room is my latest big project and is taking way too long.  I kept changing my mind about furniture arrangements and accent colors, but Saturday I finally decided to go with turquoise and yellow, black and silver, like much of my house.  I have been working on some decorative accents and saw an awesome wall art idea with sea shells and silver spray paint.   For the life of me I can't remember where I saw the idea, so if it's yours please let me know so I can give credit where credit is due:).  
First I spray painted some sea shells we collected on our trip to Charleston, SC last year.
Then I cut out and framed blue and white paper to resemble the ocean.

Lastly, I arranged the shells in columns and rows and hot glued them to the glass.

Inexpensive, quick, lovely wall art!

Linked to:
Skip to My Lou
Today's Creative Blog
Under The Table and Dreaming
Tip Junkie handmade projects

Saturday, June 11, 2011

Fabric Flower Centerpiece

I love those organza flowers you see all over and I LOVE the color turquoise, so when I can combine both into one project, I am pretty happy!  I made this centerpiece for my kitchen table a while back, but it is still one of my favorite projects ever.  Of course, it took me forever to make the many petals and flowers.
After I made about 30 flowers and sewed pearl beads onto the centers, I glued them on an old Chuck E Cheese basketball that we had laying around.  I didn't have to cover the bottom of the ball with flowers because it sits on a vase.  I inherited the vintage cut-glass vase from my grandma and I think it looks beautiful with these flowers.

Linked up to: