Labels

Pages

Showing posts with label decor. Show all posts

Friday, July 15, 2011

Another Lampshade...Last One, I Promise!

Yes, it is another lampshade! I'm just too proud of it to not share.


This shade is the partner to the shade I shared in this post.  It was gross to say the least, so I ripped that sucker up, covered it with black fabric, added trim to the top and bottom, and finished it with a bow.
I almost forgot to mention the lamp base!  Of course, I forgot to take a before picture, but it used to look alot like this one.

Very 1990's.  I used a shiny aluminum spray paint to bring it back to life!  Here it is again.

 Linking to:
The DIY Show Off

UndertheTableandDreaming


Thursday, July 14, 2011

Zebra Lampshade

I have been on a lampshade kick lately.  I needed this one for a lamp in our family room.
I had already covered it once using gold fabric, but it didn't go with the new color scheme.  When I covered it the first time, I put out my fabric and carefully rolled the shade over it, tracing the top and bottom as I went along.  After cutting and trimming, I had the shape of the frame.  I am not going to lie...covering this shape of frame can be a pain in the butt!
I grabbed my hot glue gun and attached the fabric around the frame.  To finish the edges, I glued down some black ribbon.  Then,  I added a few rosettes that I had made previously.  It looks so cute!!

Linking up to:
HookingupwithHoH

Monday, July 11, 2011

Family Room Entryway

Since our family room used to be the garage, we have lost our outdoor entrance to our laundry/mudroom.  I have been struggling with the entryway for 4 years now, and finally, I have a solution I like (my only other wish would be tile or hardwood floor...what was I thinking with carpet?!). 
The boys are always putting their shoes on last minute, as we walk out the door, so a bench made sense.  My grandpa made this bench years ago and I claimed it from my mom.  It was originally a cheap oak, but in my wisdom I painted it.  First white, then bronze, then white again...well off-white.  I attempted to antique it, but it just looked awful.  See?

I just happened to have some black spray paint, so I decided to change the color yet again.  I covered this old couch pillow I had with zebra fabric to add to it.
It looks better already!  Now for the walls.  My boys also have this bad habit of throwing jackets and backpacks on the floor as soon as they enter the house, so I knew I needed a coat hook of some kind.  I had these old barn wood frames that my dad had made that I absolutely love, but didn't know what to do with them.  I placed hooks on one and used some extra zebra fabric to jazz up the other.
Now I love my newly redone entryway.  It makes me smile :).

Notice the wicker basket with balls...again, those boys...

Linking up to :

Tip Junkie handmade projects


Tuesday, June 21, 2011

Hand Cut Silhouettes

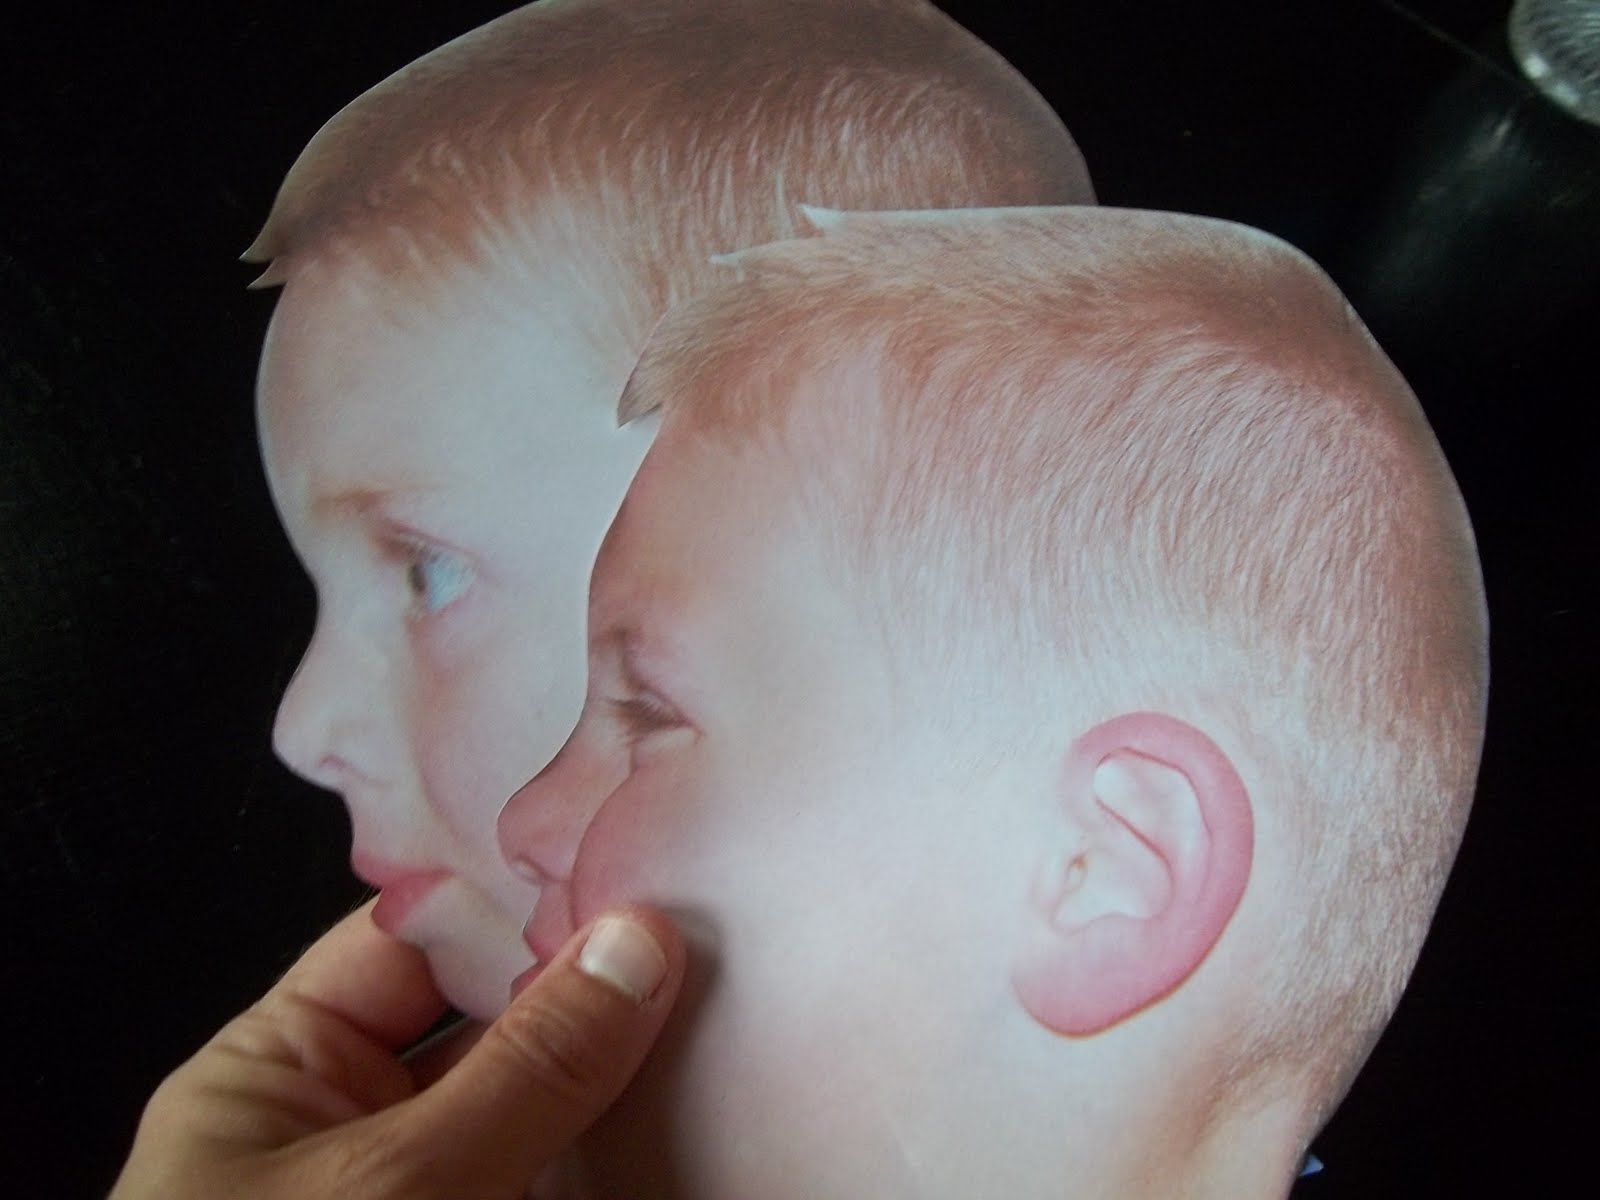
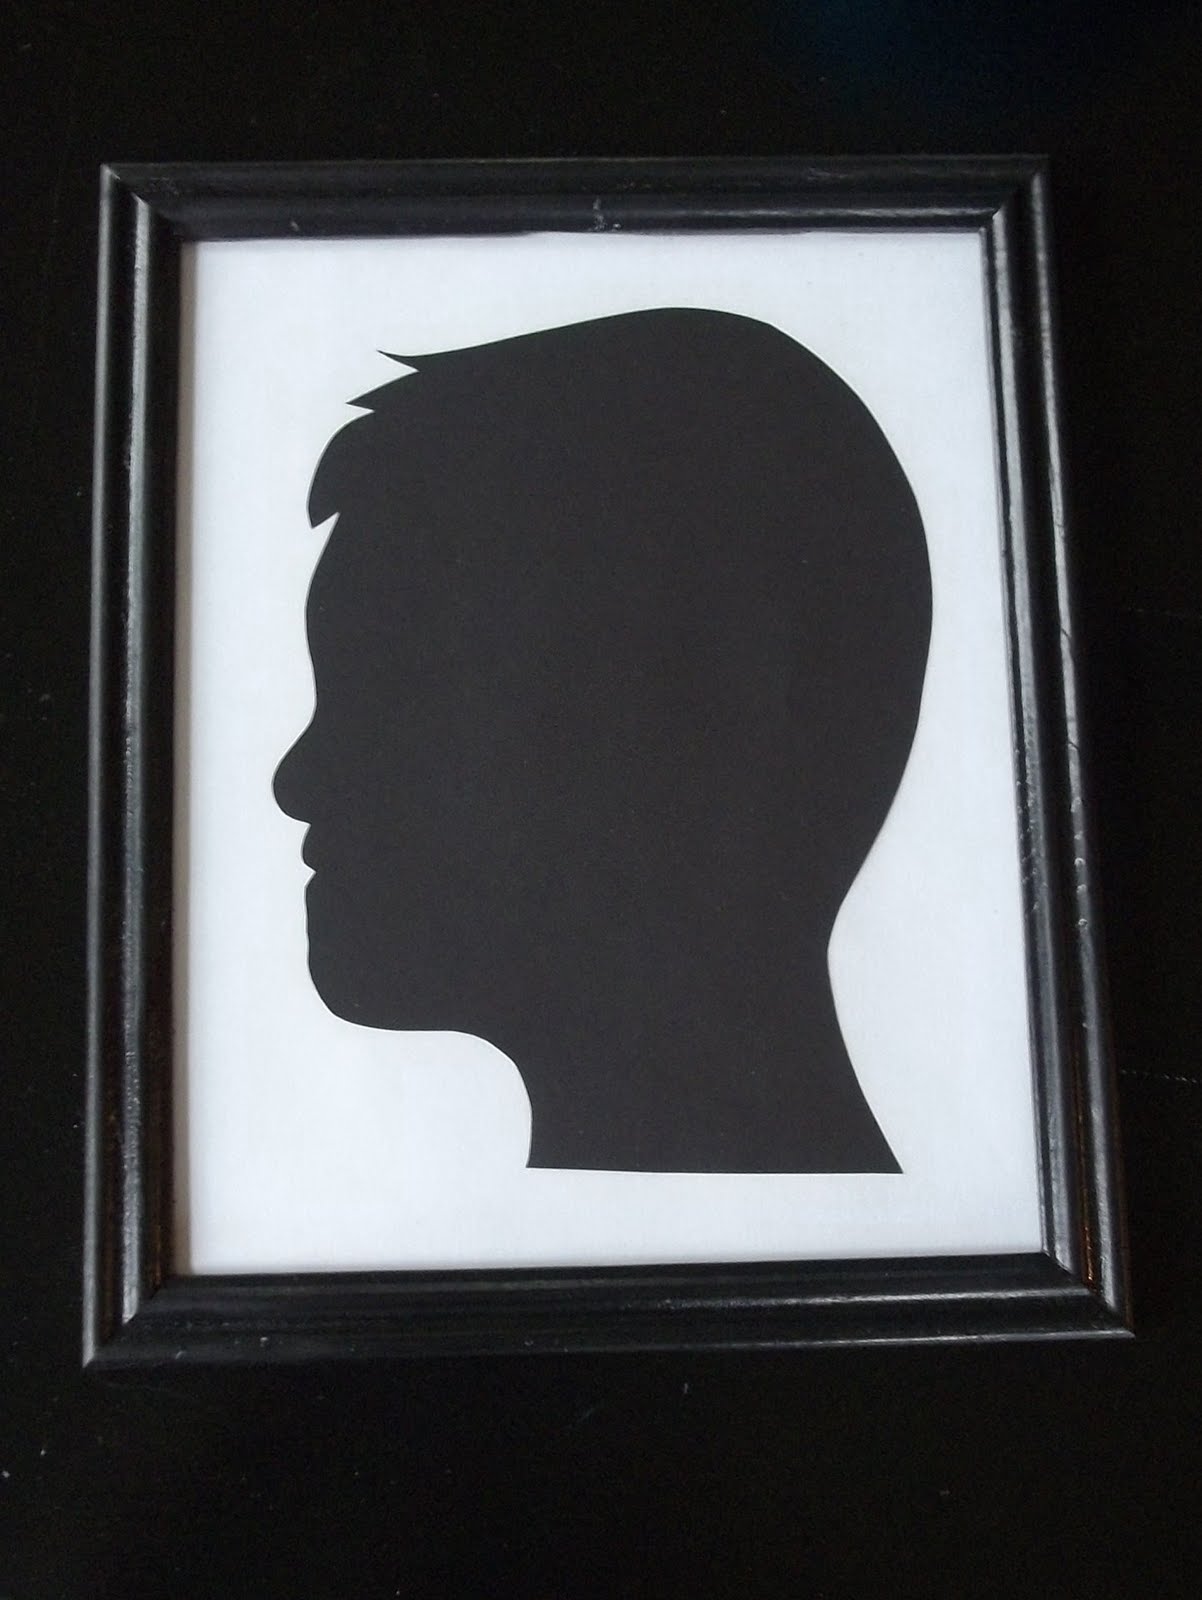
Framed silhouettes make for fun, yet elegant decor.  I don't have a fancy die cut machine for my computer, so I thought that I couldn't make silhouettes of my kids.  Then I had an idea!  First I took profile pictures of my boys.  Then I blew their images up as large as I could to fit on an 8x10 page.  After I printed their pictures I cut around their side profiles very carefully.  (Of course, they both have goofy expressions!)

Then I traced the profiles on black card stock and cut those out.  Voila...silhouettes!  I matted them on white 8x10 card stock and framed them in inexpensive black frames.  Peyton looks very serious, but Daulton has such a devilish grin!

I love them on a small corner of my kitchen wall.

Linking to:
Tip Junkie handmade projects

Monday, June 20, 2011

New Old Lampshade

I snagged this lampshade from my mom's basement, but it was in need of some updating.  The shade itself was in good shape, but it had yellowed over the years and it was just really boring. 
I found some ivory cotton fabric, cut from it about 100 three inch circles and glued them around the shade, overlapping the circles to cover the entire piece.
I finished the edges by folding half circles under the shade and gluing them down.  The shade is much more interesting now...don't you think?

Monday, June 13, 2011

Summer Theme Wall Art

My family room is my latest big project and is taking way too long.  I kept changing my mind about furniture arrangements and accent colors, but Saturday I finally decided to go with turquoise and yellow, black and silver, like much of my house.  I have been working on some decorative accents and saw an awesome wall art idea with sea shells and silver spray paint.   For the life of me I can't remember where I saw the idea, so if it's yours please let me know so I can give credit where credit is due:).  
First I spray painted some sea shells we collected on our trip to Charleston, SC last year.
Then I cut out and framed blue and white paper to resemble the ocean.

Lastly, I arranged the shells in columns and rows and hot glued them to the glass.

Inexpensive, quick, lovely wall art!

Linked to:
Skip to My Lou
Today's Creative Blog
Under The Table and Dreaming
Tip Junkie handmade projects

Thursday, June 9, 2011

Yard Sale Find

I usually don't have good luck at yard sales, because I'm a late shopper.  I work until noon on Saturdays and, by then, all the good stuff is gone.  I did make it to a sale on my way to work once, and I am so glad I did!   Of course I forgot to take a before picture, but close your eyes and get a mental picture:  a white wicker chair, with faded navy blue cushions.  Now open your eyes and behold the after!
The first thing I did was paint the chair black with a glossy spray paint.  The cushions were in good shape besides the sun-bleached fabric, so I made slipcovers to match my decor.  The seat cushion is a pale yellow and the back pillow is an awesome black, white, and gray outdoor fabric.  I love that pattern!
I put my finished chair in my little sun-nook in my kitchen.  I curl up with a cup of coffee and my Bible in the morning...what a way to start the day!

Linked to:
Visit thecsiproject.com

Saturday, June 4, 2011

Backyard Patio and Fire Pit

Since my boys had outgrown their old metal swing set, we decided to pull it out and build a patio. Well...I decided and recruited my husband. The swing set came out easy, but digging the yard up for the patio and fire pit was quite a job. My awesome hubby did most of the heavy digging, then we leveled the soil and edged the area with rock. 

For the fire pit, we dug deeper and put down concrete blocks. Then we used more rock to outline the fire pit. Lastly, we filled the entire patio with pea gravel. The only cost we had with this project was the pea gravel, as the rock was collected from a roadside near our house.


Linking to:
Under the Table and Dreaming
Craftomaniac
The Girl Creative

Somewhat Simple
HookingupwithHoH

My New Craft Room

I am forever changing things in my house. My husband teases me that everyday he comes home from work, something is different! That is so not true...at least not everyday!
One of my latest re-do's was my crafting space. For several years I worked out of our family room, but I was never truly satisfied with my crafting area. It took up alot of my kids play space and never had the look I wanted.I have 2 kids and live in a 3 bedroom house, so really I was lucky to have any crafting space at all! Well....about 6 months ago my boys decided that they wanted bunk beds. In order to do this they would have to share a bedroom...right? So that would free up a bedroom for a craft room ;). Check it out!Now I have a work table and a separate sewing station. My work table is a sofa table from my mom that I spray painted black. For the sewing station, I re purposed an oak laminate computer desk. All it needed was some primer and white paint.
I inherited the chairs from my grandmother. They belong to a patio set. The other 4 chairs and the table are on my back porch. I wasn't too fond of the original pea green color, so a little spray paint transformed the heavy metal frames and an outdoor zebra fabric jazzed up the once green floral cushions.
I have alot of craft stuff, but I don't want to look at it all the time. These boxes are PERFECT for hiding all my supplies. I work in an office, so I was able to claim all of these empty envelope boxes. The heavy cardboard makes them very sturdy. A roll of wrapping paper from Hobby Lobby and viola...lovely storage boxes!I make pendants and other jewelry, so I always have chains laying around. I needed a place to hang supplies and works in progress, so I added cork sheets to these old picture frames for an inexpensive solution. I used the pegboard from my old craft area. I just painted it black.
I need to add some wall art and accessories for the room to really be done, but I have a good start and love my new work room!